Capturing the Images
Before you start, make sure that the master PC you'll be recording the image from is up to date (see details of this process in the earlier lab imaging topics). Once you're happy with it and ready to deploy it, follow this guide on how to capture the image onto a drive.
First, follow the steps outlined here to get Clonezilla started.
The next step will give you a lot of options. When creating the lab image, you'll need to choose ‘device-image’ from the list.

Next, choose ‘local-dev’ as we'll be saving to a local device (a.k.a. a portable hard drive). Press 'Enter' when prompted.

Make sure that the drive you want the image saved to is plugged into the PC. The next screen should be black with a list of devices — make sure you can see your drive listed (it will likely start with 'sdb' and have key works like 'SSD' in it).
If you see it, you can press Ctrl-C to close this menu and continue the process.

On the next screen you're choosing where the image will be saved, so choose your portable SSD (usually the bottom option).

Choose to skip the file system check (option 'no fsck').

The next screen should show the files currently inside your drive. If this looks correct, use the right arrow key to move to select 'done'.

Next, choose Beginner mode.

On the next screen, select 'savedisk' as we'll be saving the entire disk image.

Next, you'll be prompted to name the image (for naming conventions see this page). When you're done, choose 'ok'.

It will prompt you again to choose a local disk as a source — again, choose your drive.

When asked what compression option to use, choose '-z1p'.

Choose to skip the check of source file system by choosing '-sfsck'

Choose to skip checking the saved image (-scs), and not to encrypt the image (-senc).


The last major step is choosing what action should be performed when everything is finished.

'Choose' will present you with a list of options in Clonezilla when the imaged is saved. These options will be shutdown (shuts down the PC), reboot (reboots the PC), and rerun (starts Clonezilla from the beginning). Choose is always a safe option as the blue on the screen makes it very obvious to people not to use the PC. 'True' will enter a command line prompt. We don't normally use, but you can if you think it will suit your purposes better than other options. 'Reboot' will reboot the PC when the image is captured, leaving it booted into Windows. 'Poweroff' will shut down the PC.
Select whichever option would best suit your needs.
Finally press enter when prompted to continue. It will ask if you're sure you're want to continue — type 'y' and press enter to do so.
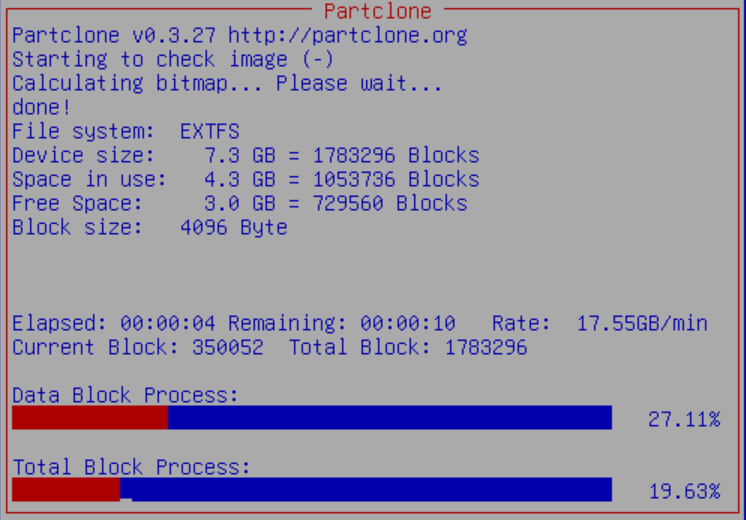
It will then start the process of saving the image, and at this point all you need to do is wait.

If it's successful, it will do whatever you chose previously. If you chose 'Choose', it will come up with a black screen when done. When you press Enter, you will be given options on what to do next as described previously.
Your image should now be saved to your Portable SSD! Yay!